
Last updated November 2, 2026
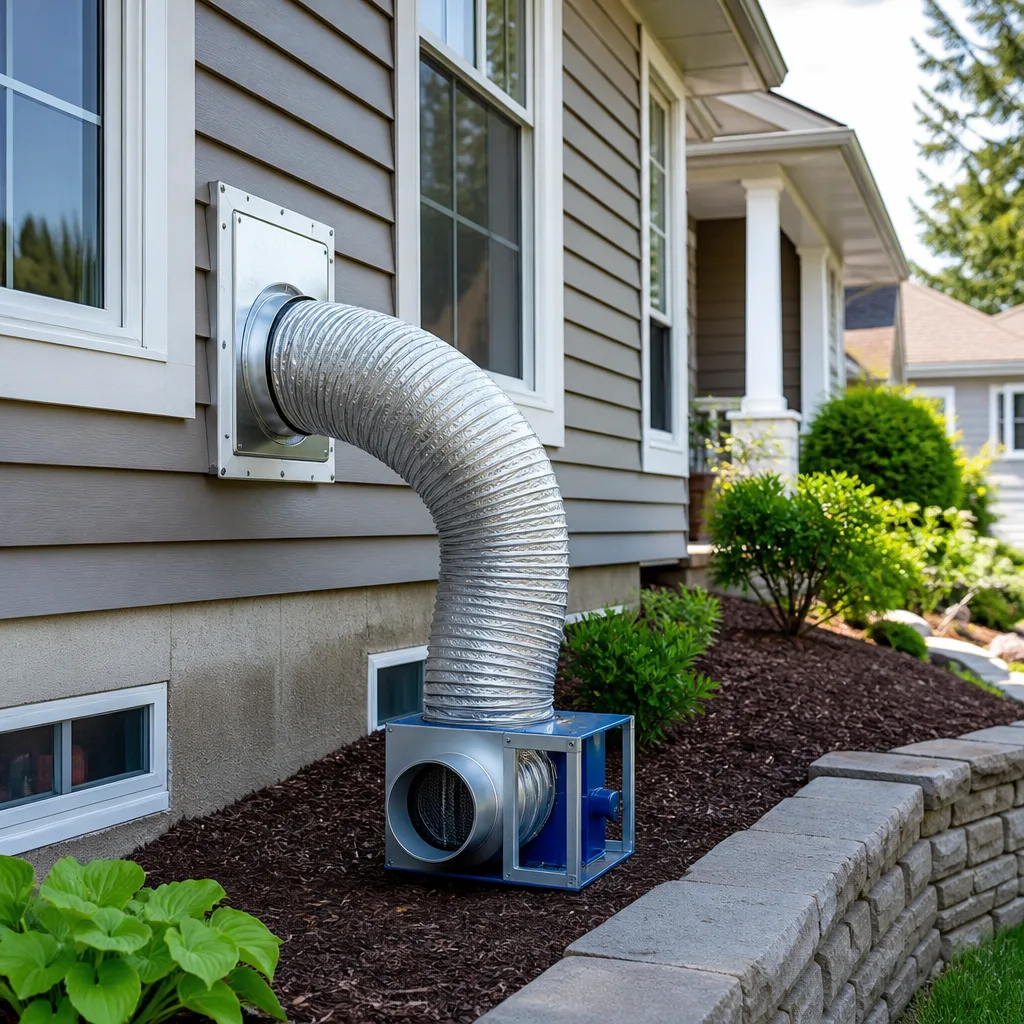 Whole-home duct cleaning
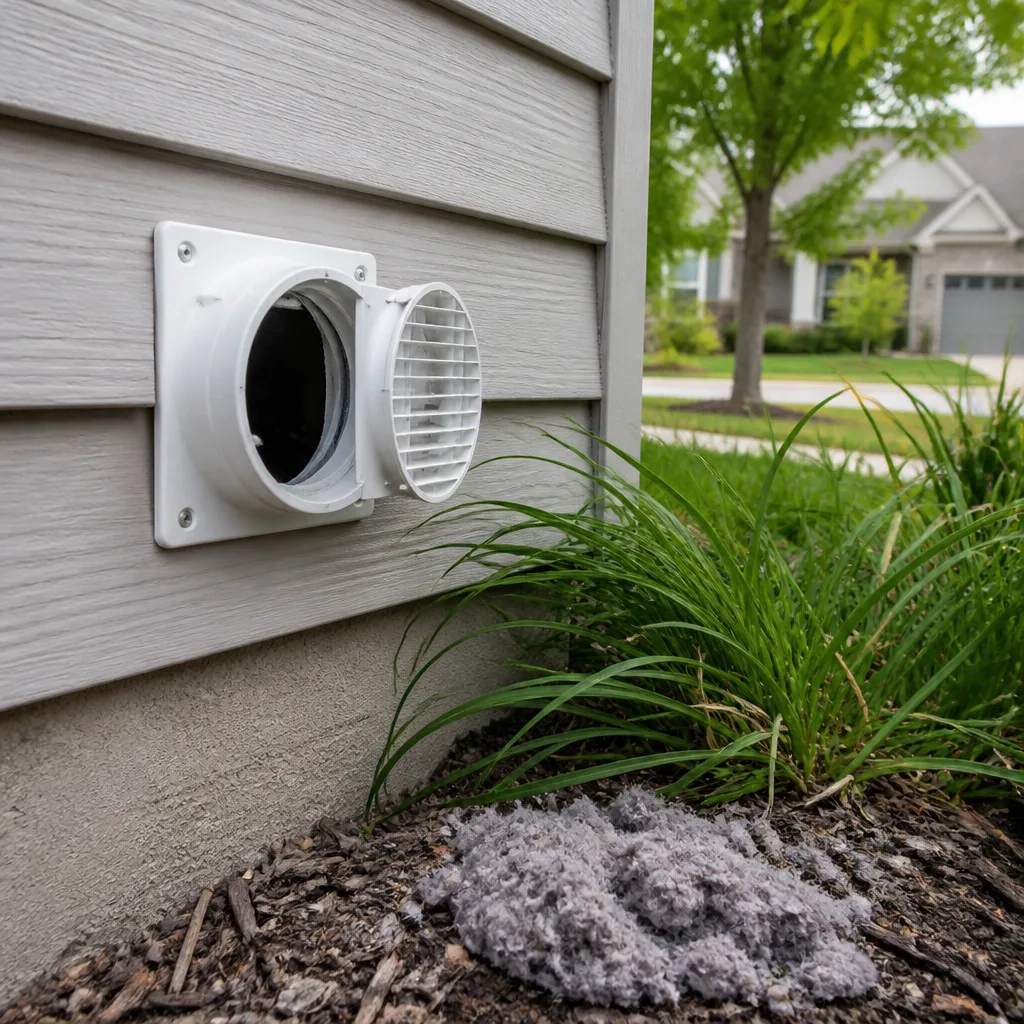 Dryer vent cleaning
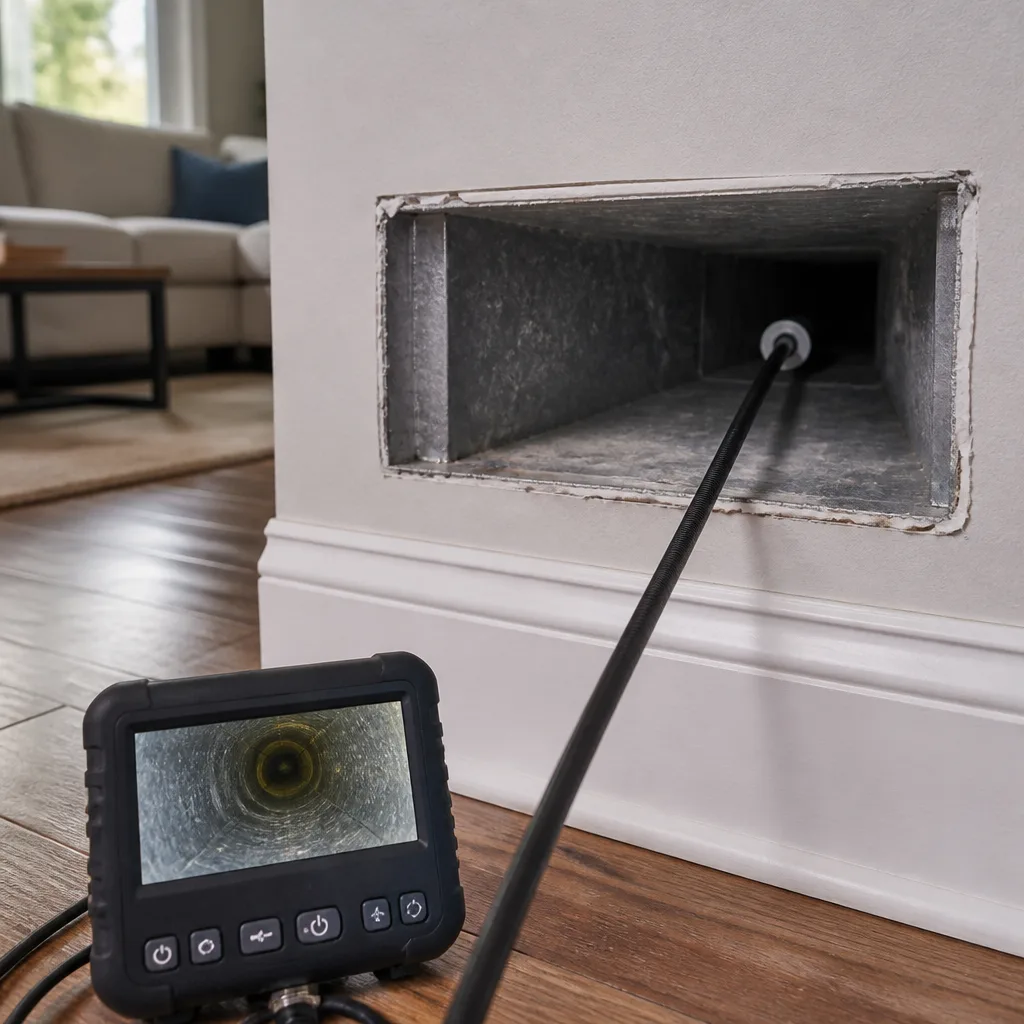 Camera inspection
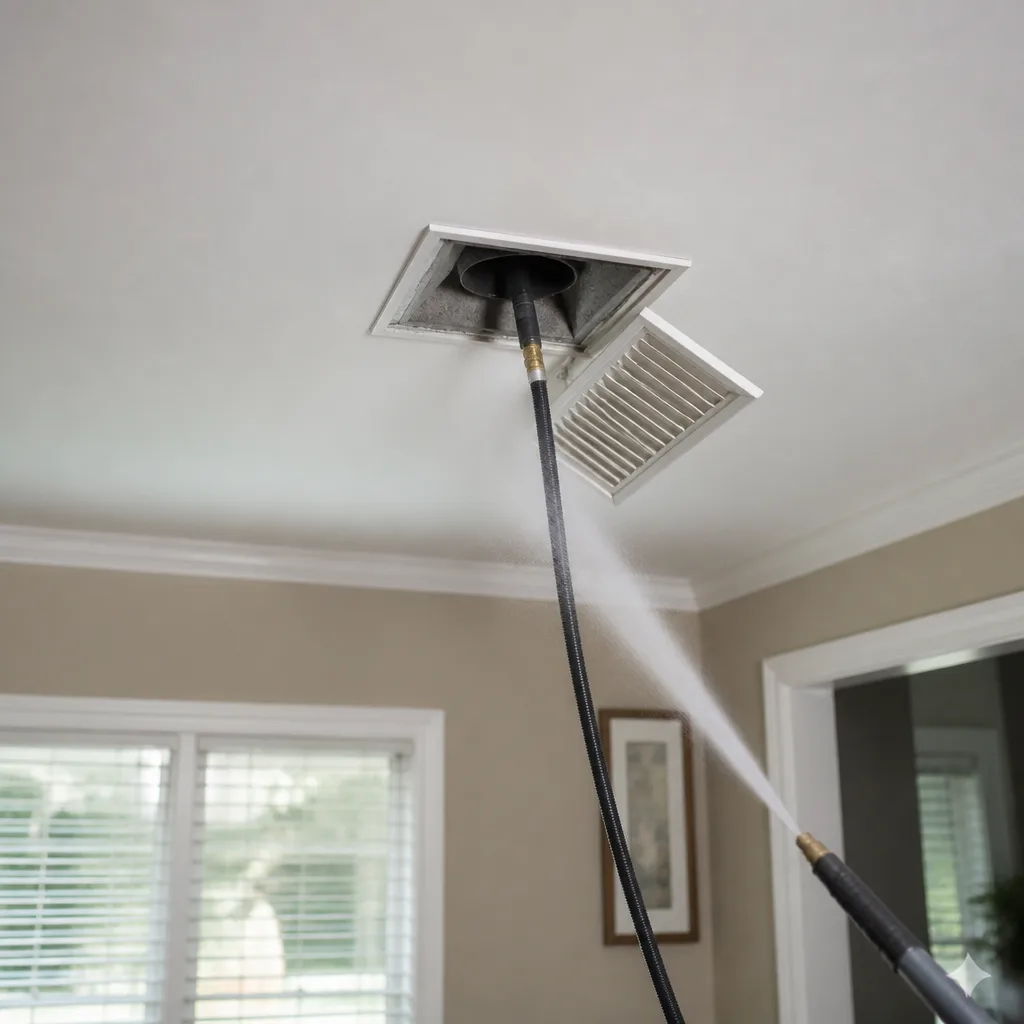 Sanitizing & deodorizing
Whole-system duct and dryer vent check with before-and-after photos - you see exactly what came out of your vents
That "$99 whole-house special" is a bait ad - the real number appears once they are in your hallway, or the "clean" is a shop-vac at the register. We photograph the inside of your ducts before and after instead.
Air Duct Cleaning Maintenance Checklist for Clovis Homeowners
Changing your filter on schedule while your duct joints are separating is like rotating tires on a car with a cracked frame – the visible maintenance masks the structural failure underneath. Clovis homeowners face a unique set of pressures on their ductwork: spring agricultural dust from the surrounding San Joaquin Valley, summer heat that pushes HVAC systems to run near-continuously for months, autumn wildfire smoke that loads filters with fine particulate, and winter condensation that tests every seal and joint. This guide gives you a month-by-month maintenance rhythm, tells you exactly what to look for at each register, shows you how to test for duct leakage without professional equipment, and explains how to match filter selection to Clovis air quality conditions. By the end, you’ll have a diagnostic framework that catches duct deterioration, filter bypass, and seal failure before they compound into expensive repairs or persistent air quality problems.
Styles & brands we work with
- Whole-home duct cleaning
- Dryer vent cleaning
- Camera inspection
- Sanitizing & deodorizing
Quick Answer
An effective air duct maintenance checklist for Clovis homes goes beyond changing filters. It means inspecting supply and return registers monthly for dust banding, debris type, and odor shifts; matching MERV ratings to seasonal Clovis air quality conditions; performing a simple static pressure test twice a year to catch duct leakage early; keeping a written documentation log of every observation and service; and scheduling professional cleaning when visible buildup, airflow loss, or odor patterns indicate contamination has moved beyond what routine maintenance can address. Duct Cleaning Clovis serves Clovis homeowners with professional-grade equipment and repair capability that turns a maintenance checklist into an actual diagnostic tool.
Table of Contents
- The Clovis Seasonal Maintenance Rhythm
- What to Look For at Every Supply and Return Register
- How to Test Static Pressure Loss as a DIY Proxy for Duct Leakage
- Filter Selection by MERV Rating for Clovis Air Quality Conditions
- The Documentation Log That Gives a Contractor Actionable History
- Knowing When Ducts Need Cleaning Versus Repair
- Dryer Vent Maintenance: The Fire-Safety Item on Your Checklist
- Common Mistakes to Avoid
- When to Call a Professional
- Frequently Asked Questions
- The Bottom Line
The Clovis Seasonal Maintenance Rhythm
Clovis doesn’t have four equal seasons. It has four distinct air quality regimes that each demand a different maintenance focus. Agricultural dust from spring fieldwork begins as early as February and peaks in April and May, when prevailing winds carry fine silt and pollen from surrounding farmland and orchards directly into residential neighborhoods. Summer brings triple-digit temperatures from June through September, forcing central air systems to cycle almost constantly and putting maximum strain on every duct joint, seal, and filter. Fall wildfire smoke settles into the valley and lingers for weeks, loading filters with sub-micron particulate that traditional fiberglass filters were never designed to capture. And winter, while mild by national standards, produces enough of a temperature differential between conditioned indoor air and cold attic spaces to generate condensation inside duct runs, which accelerates rust, mold growth, and seal deterioration.
Your maintenance calendar should reflect these realities, not a generic “change your filter every 90 days” rule that ignores what’s actually happening outside your windows.
Spring (February through May)
Agricultural dust is the dominant contaminant in Clovis during spring. This is the season when we see the highest volume of fine silt accumulation inside supply ducts, particularly in homes near the northern and eastern edges of the city where agricultural land is closer. During spring, check your return registers every two weeks. The return side is where most agricultural dust enters the system, drawn in through the filter and distributed throughout the ductwork. Look for fine tan or gray silt on return grille surfaces. If you see visible dust accumulation on the grille itself within two weeks of cleaning it, your filter is either undersized for the particulate load or bypassing air around its edges. Consider stepping up to a MERV 11 or MERV 13 filter during this season if your system can handle the additional static pressure drop. We’ll cover filter selection in detail below.
Spring is also the right time to schedule professional cleaning if you haven’t had one in the past three to five years. The window between late February and early April, before agricultural dust peaks and before summer heat makes attic work unpleasant, typically offers the most flexible scheduling in Clovis.
Summer (June through September)
Summer in Clovis is when airflow problems reveal themselves. A system that maintained acceptable temperatures in April may struggle in July simply because the same airflow volume now has to remove a much larger heat load. During summer, your monthly maintenance focus shifts from contamination to performance. At each supply register, hold a tissue or lightweight paper strip near the vent while the system is running. Note how far the paper deflects. A weak deflection at one register compared to others in the same home often indicates a disconnected or crushed duct run, or significant leakage in that branch. Summer is also when you should listen for new sounds: whistling at registers suggests airflow restriction, while a rhythmic thumping from interior walls may indicate a flex duct that has come loose from its connection and is flapping against the framing.
If you notice uneven cooling room to room in summer, it’s rarely a thermostat problem. It’s almost always an airflow distribution problem, and airflow distribution problems in Clovis homes are overwhelmingly caused by duct leakage, disconnection, or obstruction. Our Air Duct Repair in Clovis service addresses these structural failures directly, which is why we pair repair capability with cleaning rather than treating them as separate trades.
Fall (October through November)
Wildfire smoke is the fall wildcard in Clovis. Smoke particulate is exceptionally fine, much finer than agricultural dust, and it penetrates standard filters easily. During smoke events, run your system fan continuously, even if the temperature doesn’t require cooling or heating. This keeps air moving through the filter and captures more particulate than intermittent operation. Check filters weekly during active smoke periods. A filter that looks loaded after one week during a smoke event is doing its job, but it also means you’re asking a lot of your blower motor, which now has to work harder to pull air through the loaded media. This is a good time to verify that your filter fits tightly in its slot with no visible gaps around the edges. In Clovis homes with older filter racks, we routinely find gaps of up to a quarter inch around filter edges, which allows unfiltered smoke-laden air to bypass the filter entirely and deposit soot directly into the supply ductwork.
After a significant smoke event ends, inspect your supply registers for gray or black streaking around the edges. This streaking pattern, called filter bypass banding, tells you that contaminated air is entering the ductwork around, rather than through, the filter. If you see it, address the filter fit before your next cleaning, or schedule a professional evaluation.
Winter (December through January)
Winter condensation is the most overlooked duct problem in Clovis. When warm, humid indoor air meets cold duct surfaces in uninsulated attics or crawl spaces, moisture condenses inside the ductwork. This creates conditions for mold growth and also softens the adhesive on tape seals, which eventually fail and allow conditioned air to escape. During winter, inspect accessible duct runs in your attic or crawl space for visible moisture staining on the outer duct insulation jacket. Dark spots or water ring marks on duct insulation indicate condensation has been occurring. Also check for sagging flex duct runs. A flex duct that has absorbed moisture becomes heavier and sags between support straps, restricting airflow and creating low spots where more condensation collects. This is a compounding problem unique to homes with unconditioned attic duct runs, which describes the majority of Clovis residences.
If you find condensation staining or sagging flex duct, don’t wait for spring. Condensation damage worsens through the winter and the mold that develops in damp ductwork will be distributed through your home the moment the system kicks into cooling mode in April. A professional Air Duct Cleaning in Clovis can remove existing contamination, but structural fixes like re-insulation or resealing require repair work. Knowing which problem you have, and documenting your observations, helps us diagnose correctly on the first visit.
What to Look For at Every Supply and Return Register
Your registers are diagnostic windows into the condition of your ductwork. Most homeowners look at a register and see only a metal grille. We look at registers and see a timeline of everything that has moved through your ducts: what kind of debris, how much of it, how long it’s been accumulating, and whether the filter is doing its job. Here’s a systematic inspection protocol you can do in under ten minutes per month.
Step 1: Remove the Register Cover
Most supply and return registers in Clovis homes are held in place by two screws or simply fit into the duct opening by friction. Remove the cover and examine both sides. The orientation of dust accumulation matters. Dust on the outside face of the register indicates deposition from room air. Dust on the inside face, particularly if it forms a distinct pattern, indicates deposition from the duct airflow itself, which tells you more about what’s happening inside the system.
Step 2: Look for Color Banding
Color banding is the most useful diagnostic signal in a duct inspection. Here’s what different colors tell you:
- Uniform gray or tan dust: Normal household dust and agricultural silt. Expected in any Clovis home, particularly in spring. Not a concern by itself, but the rate of accumulation matters.
- Black or dark gray streaking at register edges: Filter bypass evidence. This pattern forms when unfiltered air, often carrying soot or fine particulate, enters the ductwork around the edges of a poorly fitting filter. The streaking pattern follows the airflow path. If you see this, fix filter fit before anything else.
- Dark brown or black dust that feels greasy: This is often evidence of candle soot, cooking oils, or, in some Clovis homes, residue from past wildfire smoke events that adhered to duct surfaces and now attracts additional particulate. Greasy buildup requires professional cleaning with agitation equipment because it doesn’t vacuum off with airflow alone.
- White, gray, or green fuzzy growth: Possible microbial growth. In Clovis, we see this most often in homes with winter condensation issues or a history of past water intrusion. If you see fuzzy growth of any color, don’t disturb it. Schedule a professional evaluation before running your system aggressively, because disturbing it can release spores throughout the home.
- Rust-colored dust or actual rust flakes: Indicates moisture inside metal ducts or deteriorating metal components. In Clovis, this is typically tied to condensation in unconditioned spaces or, less commonly, past roof leaks that found their way into duct runs.
Step 3: Check the Debris Type
Use a flashlight and look into the duct opening as far as you can see. Identify the dominant debris type:
- Fine powder or silt: Typical of Clovis agricultural dust and construction activity. This material can be removed with professional cleaning, but will return if filter bypass isn’t addressed.
- Fibrous material or pet hair clumps: Indicates that filter media is either missing, collapsed, or severely undersized. Pet hair should not be present in supply ductwork if the filter is working correctly.
- Small gravel, sand, or visible dirt particles: This is often evidence of a past disconnect or a gap in ductwork that allowed outside material to enter. In crawl space homes, this can also indicate rodent activity in the duct system.
- Construction debris: Drywall dust, sawdust, screws, or other building materials found inside ducts suggest either a recent renovation where the system wasn’t sealed during work, or debris left from original construction. We find construction debris in a surprising percentage of Clovis homes built within the last ten to fifteen years.
Step 4: Check the Odor Profile
After removing the register, place your nose near the duct opening while the system fan is running. The odor profile tells you things that visual inspection can’t. A musty or mildewed odor indicates moisture problems somewhere in the system. A burning or hot dust odor when the system first starts after a period of inactivity is actually normal; it’s dust that settled on heat exchanger surfaces burning off. This smell should dissipate within a minute or two. A persistent burning odor that doesn’t go away is a different matter and warrants immediate professional attention. A chemical or solvent odor is rare but serious; it can indicate off-gassing from deteriorating materials inside the ductwork or contamination from outside sources. If you notice any of these persistent odor profiles, document them in your maintenance log with the date and conditions.
How to Test Static Pressure Loss as a DIY Proxy for Duct Leakage
Duct leakage is the silent energy cost in Clovis homes. The Department of Energy estimates that typical duct systems lose 20 to 30 percent of conditioned air to leaks, and in the hot Clovis summers, that lost air represents real dollars on your utility bill. Professional duct leakage testing requires specialized equipment like a duct blaster and calibrated pressure gauges, but you can perform a meaningful proxy test at home with nothing more than your HVAC system itself and your hands.
The principle is simple: a duct system with significant leakage cannot build and maintain the same static pressure as a sealed system. Static pressure is the pressure differential between the inside of the ducts and the surrounding space. When your system is running, the blower pushes air into the supply ducts and pulls air through the return ducts. If the ducts leak, some of that pressure escapes, and the system compensates by moving less air through the registers. Here’s how to test it:
- Close all exterior doors and windows. You want to test the duct system, not the building envelope. Interior doors should be open to allow air to return naturally to the return registers.
- Set your thermostat to fan-only mode. This runs the blower without heating or cooling, which isolates the airflow question from the temperature question.
- Go to the return register nearest your air handler. This is usually the largest return grille in the home. Hold a piece of printer paper or tissue flat against the grille. A properly functioning return system in a sealed duct system will hold the paper firmly against the grille through suction alone.
- Walk to the farthest supply register from the air handler. Hold the same paper near the supply register, not against it. Note how far the paper deflects. Strong, consistent deflection indicates good supply airflow. Weak or fluttering deflection indicates airflow loss somewhere between the blower and the register.
- Compare registers throughout the home. Do this systematically. In a sealed system with properly balanced ductwork, supply airflow should be relatively consistent from register to register, with some normal variation based on distance from the blower and register size. If one branch of the house shows significantly weaker airflow than others, that branch likely has a leak, disconnection, or obstruction.
- Repeat the test with all interior doors closed. This introduces a different variable: room pressurization. In homes with only one central return, closing doors creates positive pressure in closed rooms, which reduces supply airflow to those rooms even with perfectly sealed ducts. If airflow drops dramatically when doors close, it suggests return air deficiency rather than supply duct leakage. This is a common finding in Clovis homes with older floor plans and a single return location.
The static pressure test won’t give you a precise leakage number the way professional testing will, but it will tell you whether you have a leakage problem worth investigating further. If you see dramatic differences in airflow between registers, or if the return suction feels weak compared to what you’d expect, document those observations. A professional can then come in, confirm the diagnosis with proper equipment, and locate the specific failures. This is the difference between paying someone to guess and paying someone to confirm what your own testing already suggested.
Filter Selection by MERV Rating for Clovis Air Quality Conditions
Filter selection in Clovis is a balancing act between filtration efficiency and airflow restriction. Higher MERV ratings capture smaller particles, but they also restrict airflow more, which increases static pressure and can strain your blower motor, reduce system efficiency, and, in extreme cases, cause the evaporator coil to freeze. The right filter for your Clovis home depends on what’s actually in the air at any given time, and that changes with the seasons.
Here’s a practical framework for Clovis conditions:
- MERV 8 (baseline year-round): Captures most agricultural dust, pollen, and larger particulate. This is an acceptable baseline filter for Clovis homes if no one in the household has respiratory sensitivities and you don’t have pets that shed heavily. MERV 8 filters offer the best airflow characteristics of the commonly available options, which matters in summer when your system is working hardest.
- MERV 11 (spring and fall): The step-up choice for agricultural dust season and wildfire smoke season. MERV 11 media captures a meaningful percentage of fine particulate that MERV 8 misses, including much of the smoke particulate that affects Clovis during fall fire events. The airflow penalty is modest, but you’ll notice the filter loads faster and needs more frequent replacement.
- MERV 13 (smoke events and allergy seasons): The highest efficiency available in standard one-inch filter format. MERV 13 captures a significant percentage of sub-micron smoke particulate and fine allergens. However, MERV 13 filters create noticeably more airflow resistance. Before installing a MERV 13 in a standard one-inch slot, verify that your system can handle the additional static pressure. In our experience, many older Clovis HVAC systems cannot maintain adequate airflow with MERV 13 filters, and installing one does more harm than good. If you want MERV 13-level filtration but your system can’t handle a one-inch MERV 13, consider a whole-home filtration system like those from Honeywell or Aprilaire, which are designed to provide high-efficiency filtration without the same airflow penalty as high-MERV one-inch filters.
Beyond MERV rating, here are three filter-specific failure patterns we see repeatedly in Clovis homes:
Filter bypass from poor fit: A filter that doesn’t fit tightly in its slot allows a portion of the airstream to flow around the filter entirely. In Clovis, where spring dust and fall smoke are significant, even a small bypass gap means unfiltered air is entering your supply ducts and depositing directly onto duct surfaces. Check the fit by running your finger around the filter edges while the blower is running. If you feel air movement at any edge, you have bypass.
Oversized static pressure from undersized filter area: Some Clovis homes have filter slots sized for one-inch filters in a 16×20 or 20×20 configuration, but the HVAC system’s airflow requirement exceeds what a single filter of that size can handle at higher MERV ratings. This is why filter choice should follow system airflow requirements, not just particle concerns. A good rule of thumb: if your filter collapses inward when the blower runs, or if you hear whistling at the filter slot, your filter is undersized or overly restrictive for your system.
Filter media collapse from extended use: This is a problem we encounter in Clovis homes where filters haven’t been changed in six months or more, particularly during spring dust season when loading rates are highest. As filter media loads with particulate, it becomes increasingly restrictive. Eventually, the pressure differential across the filter can cause the media itself to collapse, which sends the accumulated dust downstream into your supply ducts in a single event. If you remove an old filter and it looks concave or misshapen, the media was on the verge of collapse, and whatever it had captured has likely been distributed through your system.
The Documentation Log That Gives a Contractor Actionable History
When a Clovis homeowner calls us with a duct problem, the most valuable information they can provide is a history of observations over time, not a description of the current symptom alone. Duct problems develop gradually, and patterns emerge from documentation that a single snapshot can’t reveal. A filter that loads quickly in April but not in September tells us something about seasonal particulate sources. An odor that appears only when the system first starts after being off for several hours tells us something about moisture in the system. Your documentation log turns these isolated observations into a timeline.
Here’s a documentation format we recommend, designed to be quick to maintain and maximally useful to a professional contractor:
- Date and season: Record the date of every observation, including filter changes. Clovis seasonal patterns matter for diagnosis, and knowing when an observation occurred in the seasonal cycle helps us correlate it with environmental conditions.
- Filter change record: Note the date, filter MERV rating, and brand. Also note the visual condition of the old filter at change time: how loaded it looked, any discoloration, any collapse or deformation. This is your best record of particulate loading over time.
- Register inspection findings: Use the four-step register inspection protocol from earlier in this guide. Note anything unusual: color banding, debris type, odor profile, airflow strength. Be specific about which register you inspected and what you observed at each one.
- System sounds and behaviors: Note any new sounds (whistling, thumping, rattling), any changes in airflow, any new odors from the system, and any rooms that seem warmer or cooler than before. Note whether these observations occur during cooling, heating, or fan-only mode.
- Environmental events: Note significant Clovis environmental events: agricultural burning periods, smoke events from wildfires, unusually dusty conditions, construction or renovation work in the home. These events explain spikes in filter loading and help differentiate environmental causes from system failures.
- Service and maintenance history: Note every professional service, including what was done, when, and by whom. This gives us a complete picture of what has and hasn’t been addressed over the life of the system.
Keep this log in a simple notebook or a digital document. Ten minutes per month is all it takes. When you eventually call a professional, share the log. The difference between “it smells funny sometimes” and “I noticed a musty odor at the master bedroom register in January and February, primarily when the heat first started, and it went away after five minutes of runtime” is the difference between a guess and a diagnosis.
Knowing When Ducts Need Cleaning Versus Repair
One of the most expensive mistakes a Clovis homeowner can make is paying for duct cleaning when the real problem is structural, or paying for duct repair when the real problem is contamination. These services address different root causes, and they’re not interchangeable. Understanding the distinction saves you money and ensures the work actually solves your problem.
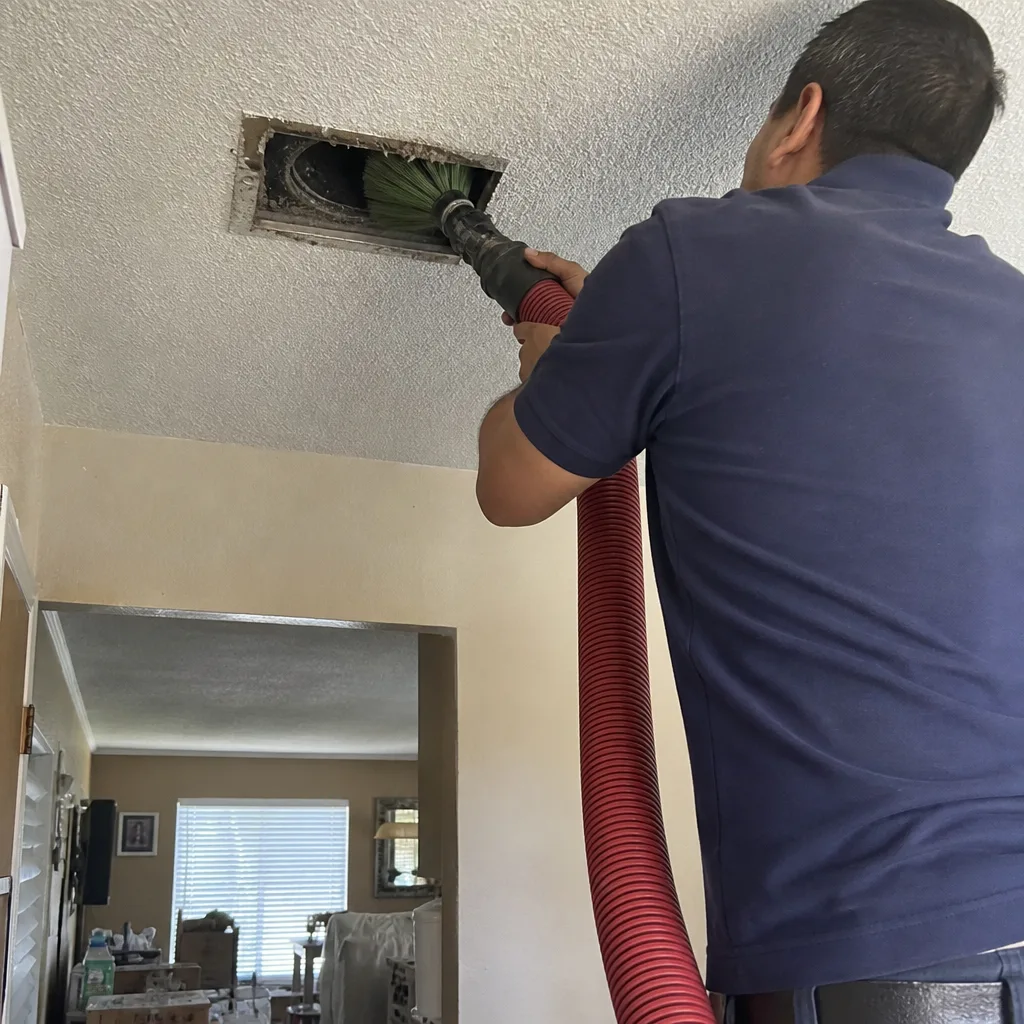
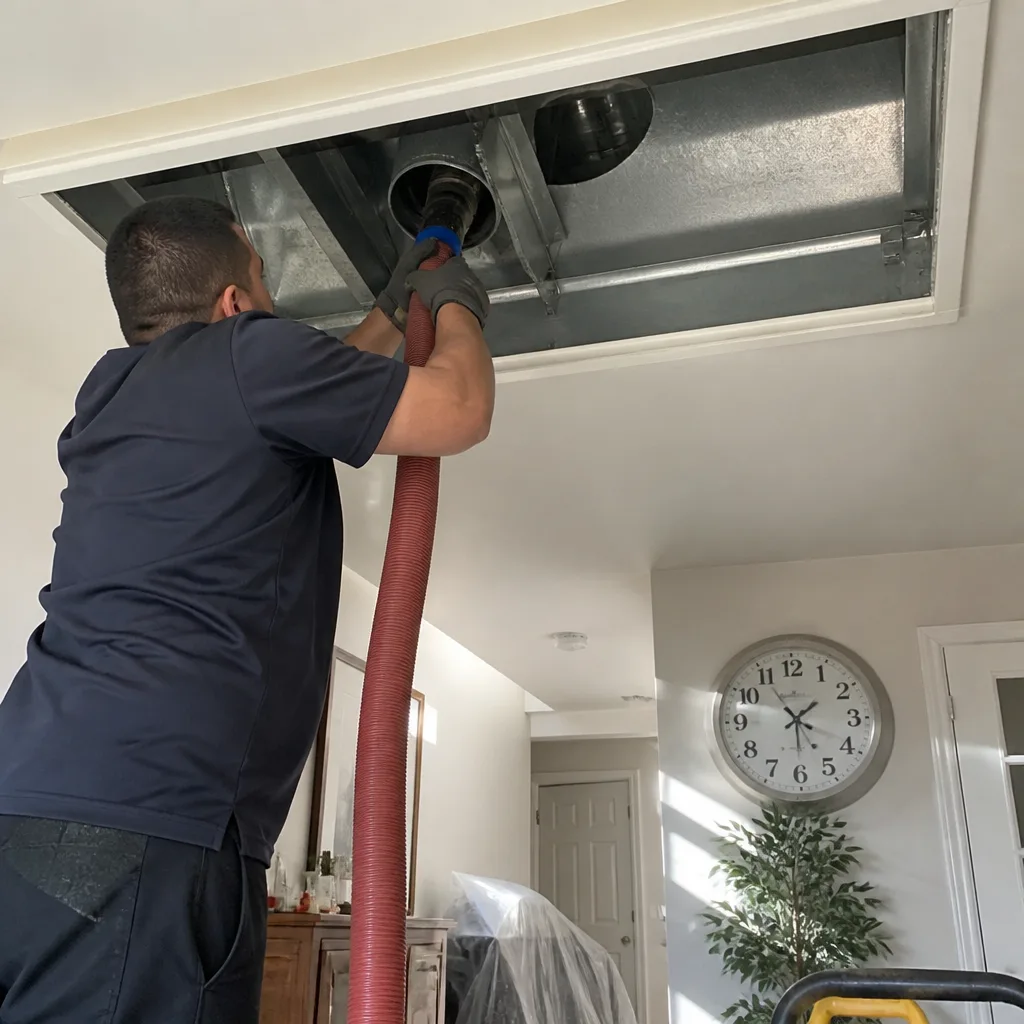
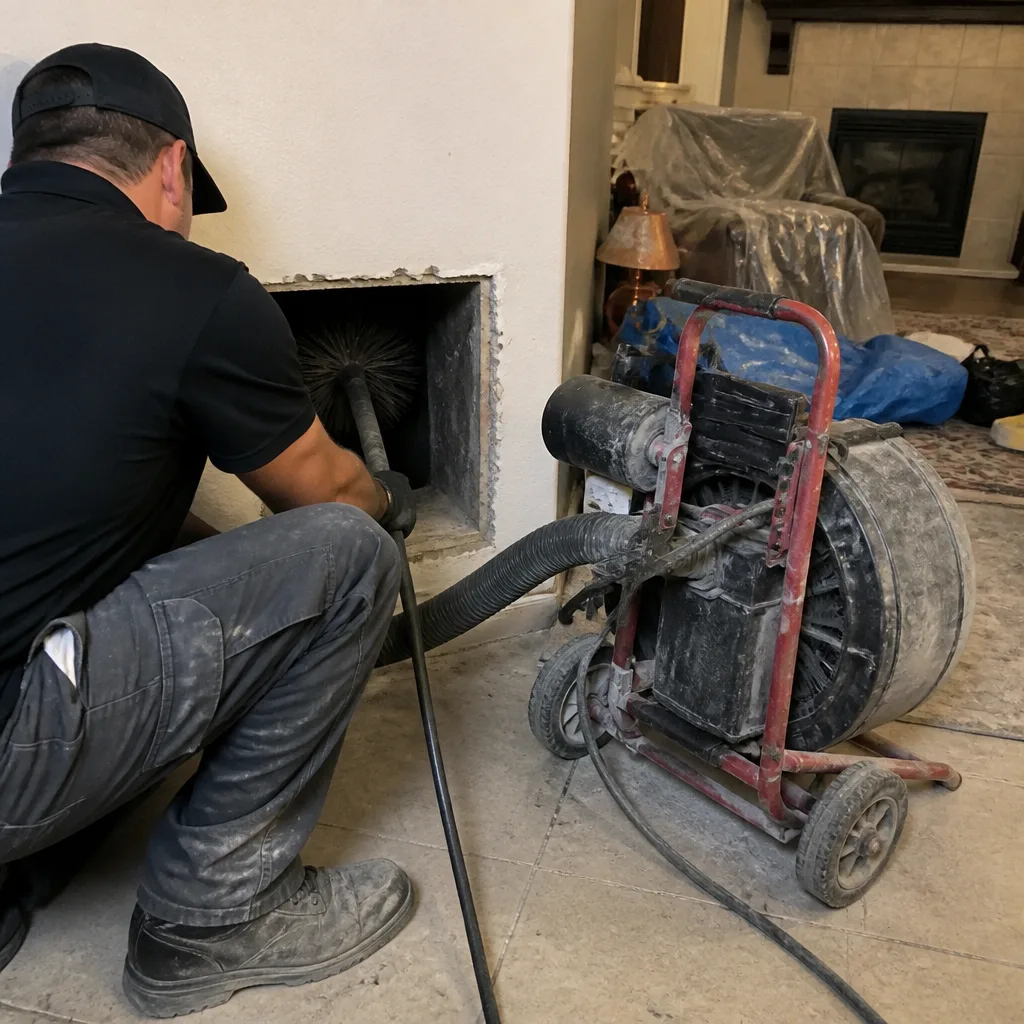
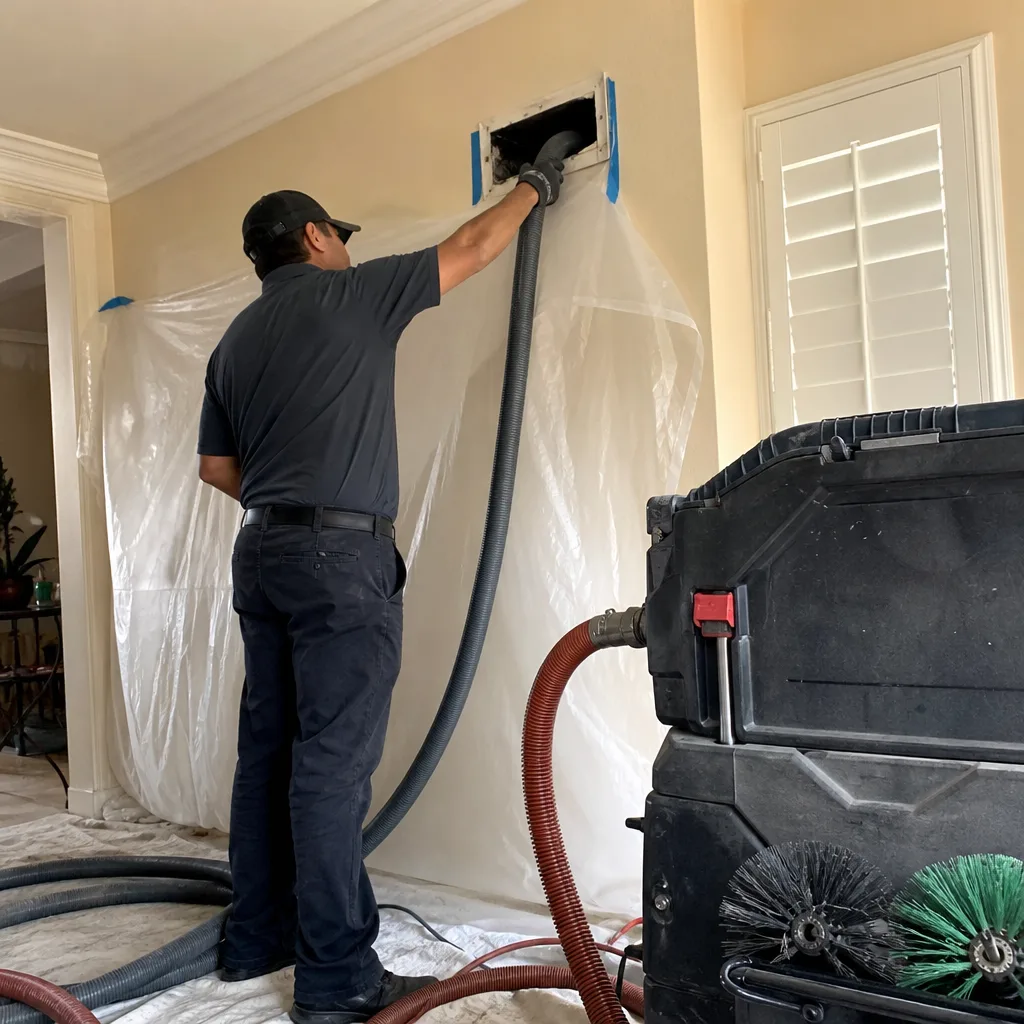
Duct cleaning addresses what’s inside the ducts: accumulated dust, debris, microbial growth, and contamination that has settled onto duct surfaces over years of operation. Professional cleaning in Clovis homes should use brush-contact extraction equipment like Rotobrush systems with HEPA-filtered vacuum collection, not consumer shop vacs or basic truck-mount setups. The objective is physical removal of material from duct surfaces, which requires agitation and negative air pressure working together. A cleaning-only company can remove contamination, but if the underlying structural problem remains, the contamination will return.
Duct repair addresses what’s wrong with the ducts themselves: disconnected joints, crushed flex runs, failed seals, deteriorated insulation, and damaged sections that leak conditioned air or draw in attic or crawl space contamination. In Clovis, the most common repair need we encounter is separation at flex duct connections, followed by failed tape seals on older metal duct systems. These structural failures leak conditioned air into unconditioned spaces and pull dirty air into the return side of the system. No amount of cleaning fixes a disconnected duct.
The distinction matters because a homeowner who hires a cleaning-only company to fix a structural problem will see the contamination return within months, and a homeowner who hires a repair-only company to fix a contamination problem may end up with sealed ducts that still distribute contaminated air. This is why our service model at Duct Cleaning Clovis home pairs both capabilities under one roof: we can clean the contamination and fix the structural failure that allowed it in. The Rotobrush and Nikro equipment we use is the same professional-grade equipment used by restoration and remediation specialists, and we bring Abatement Technologies equipment to jobs where contamination levels require a remediation standard rather than a routine cleaning standard. For Clovis homeowners, that means one call addresses the full scope of the problem rather than handing you a phone number for a second contractor.
Dryer Vent Maintenance: The Fire-Safety Item on Your Checklist
Dryer vents aren’t a comfort issue; they’re a fire-safety issue. Lint accumulation inside dryer vent ducting is one of the leading documented causes of residential dryer fires in the United States, and Clovis homes are not exempt from that statistic. The National Fire Protection Association has tracked thousands of dryer fires annually for decades, and the overwhelming majority trace back to lint that accumulated in the vent system and eventually ignited from the dryer’s heat.
Here’s what to include on your Clovis maintenance checklist for the dryer vent:
- Monthly lint screen check: Clean the lint screen after every load. Once a month, wash it with soap and water to remove the invisible residue from dryer sheets and fabric softeners that builds up on the screen mesh and restricts airflow even when the screen looks clean.
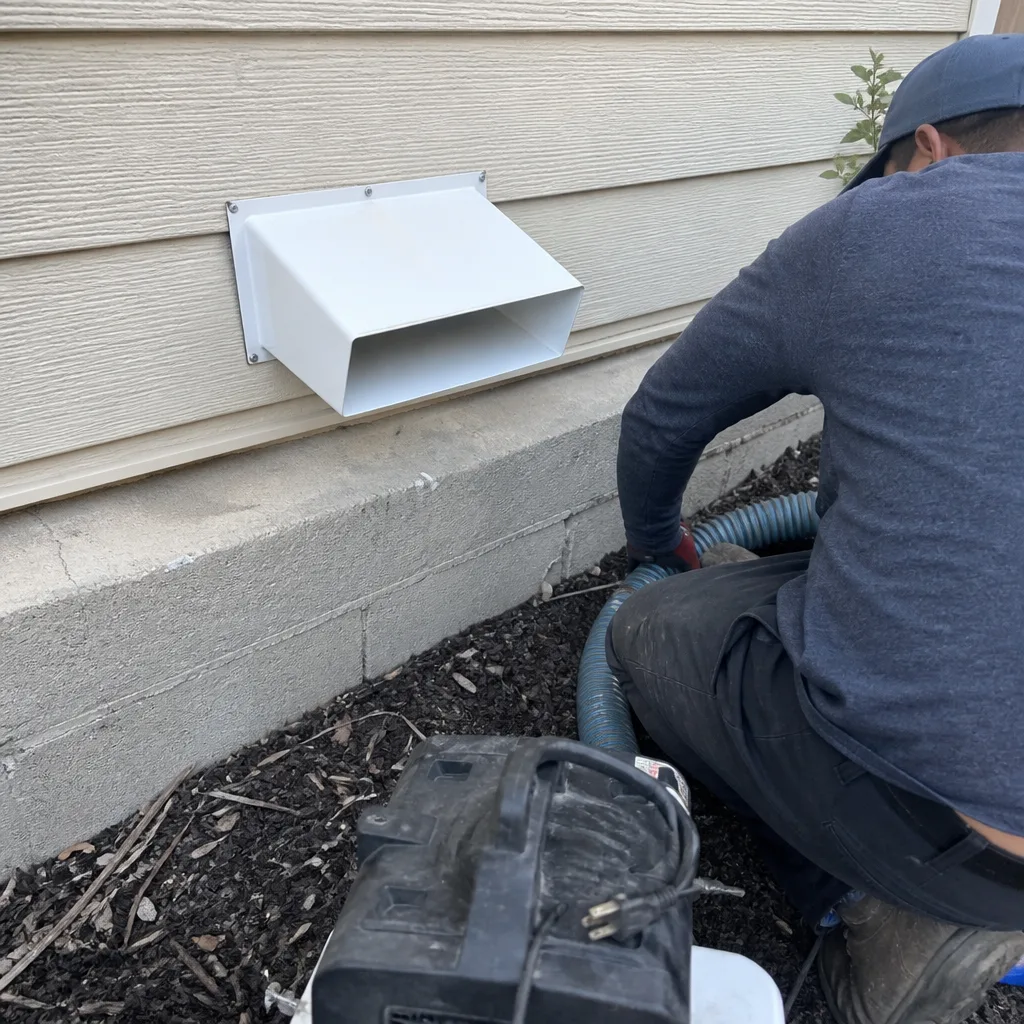
- Quarterly exterior vent inspection: Go outside to the vent termination point on your home’s exterior. With the dryer running, verify that air is moving strongly through the vent. Weak airflow at the exterior vent while the dryer runs suggests internal restriction. Also check the vent flap or damper to ensure it opens fully when the dryer runs and closes when it doesn’t.
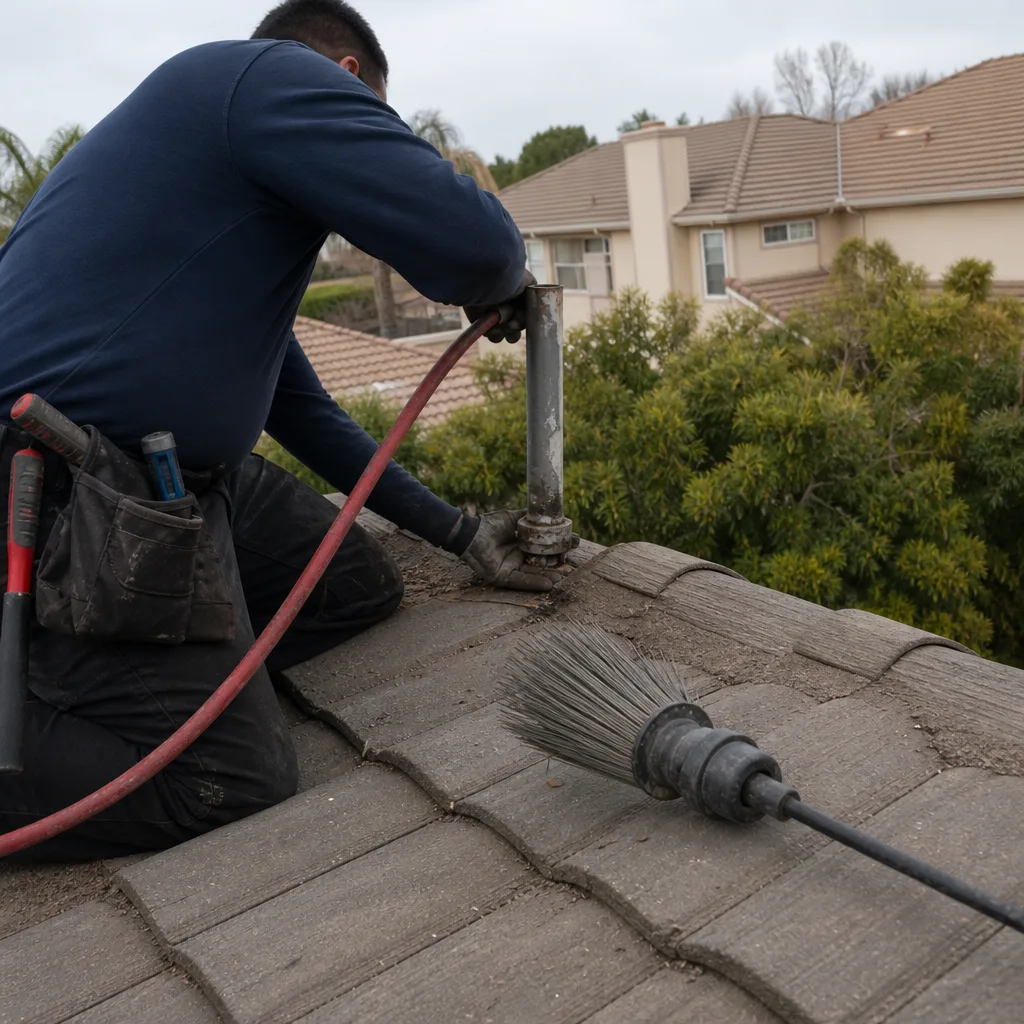
- Annual vent system inspection: Once a year, or more often if you notice longer drying times, inspect what you can reach of the vent run. In Clovis homes with dryer vents terminating through the roof, this inspection is more difficult and should be done by a professional. Look for visible lint accumulation at the connection points, sagging sections where lint can collect, and any signs of animal activity. Birds and rodents see warm dryer vents as attractive nesting sites in Clovis winters.
- Professional cleaning every one to two years: Even with diligent monthly maintenance, professional Dryer Vent Cleaning in Clovis is necessary because the interior of the vent run accumulates lint that you can’t reach from either end. The frequency depends on usage: a household of two adults doing average laundry loads can often go two years between cleanings, while a household of five or more with heavy laundry use should consider annual professional cleaning.
Pay attention to the warning signs between scheduled maintenance events. Clothes taking longer than normal to dry is the most reliable indicator of restricted vent airflow. A burning odor during dryer operation is an urgent warning sign, not a maintenance item. And a dryer that feels unusually hot to the touch on its exterior surfaces during operation is telling you that heat is not being exhausted properly. In any of these situations, stop using the dryer until the vent system can be inspected and cleaned.
Common Mistakes to Avoid
- Treating filter changes as the entire maintenance program. A filter change addresses filter loading. It does nothing for duct leakage, condensate damage, register contamination, or any of the other failure modes this guide covers. Filter changes are one item on a checklist, not the checklist itself. In Clovis specifically, homeowners who change filters diligently but never inspect registers are missing the early warning signs of problems that will eventually require expensive repair.
- Installing high-MERV filters without verifying system compatibility. The desire for better filtration is understandable, especially during Clovis smoke season. But a MERV 13 filter in a system not designed for that pressure drop can reduce airflow enough to cause coil freezing in summer and blower motor strain year-round. Match filter selection to both air quality needs and system capabilities.
- Ignoring airflow differences between rooms. Uneven cooling or heating between rooms is a diagnostic signal, not a personality quirk of your HVAC system. When one room in a Clovis home is consistently five degrees warmer than others in July, the cause is almost always duct-related, not thermostat-related. Documenting and addressing airflow imbalances early prevents larger failures.
- Deferring dryer vent service because drying times are still acceptable. Lint accumulation in dryer vents is a progressive fire hazard, not a comfort issue. The fact that clothes still dry doesn’t mean the vent is safe. Clothes will continue drying right up until the lint ignites. The fire-safety dimension of dryer vent cleaning is the primary reason it belongs on your checklist.
- Cleaning ducts without addressing the root cause. If your ducts became contaminated because of filter bypass, a disconnected return, or condensation in the attic, cleaning removes the contamination but the source remains. Within a season or two, the ducts will be dirty again. Identify and address the structural problem, whether that’s filter fit, duct leakage, or moisture intrusion, or budget for repeated cleanings that don’t solve the underlying issue.
- Relying on visual inspection alone without documentation. Your memory of what the registers looked like in March versus August is unreliable. Without a written log, you’ll miss the gradual changes that indicate developing problems. The documentation format in this guide exists because patterns emerge only when observations are recorded over time.
When to Call a Professional
Some maintenance tasks are homeowner-appropriate. Some are not. Here’s the boundary line: if the problem involves duct contamination that extends beyond what you can see at the register opening, if the problem involves structural failure inside the duct system, or if the problem involves any component that requires accessing unconditioned spaces like attics or crawl spaces, call a professional. You should also call a professional if your documentation log shows a pattern you can’t explain: loading that spikes without an obvious environmental cause, odors that persist across seasons, or airflow losses that worsen month over month. Specifically for dryer vents, any burning odor during dryer operation is an immediate stop-and-call situation. Duct Cleaning Clovis offers free estimates in Clovis. Call (855) 661-0630 to schedule an evaluation if your maintenance checklist has surfaced problems or if you simply want a professional baseline for your system’s condition.
Frequently Asked Questions
Air ducts in Clovis homes typically need professional cleaning every three to five years, but the interval depends on specific conditions: homes with pets, homes in agricultural-adjacent areas with heavy spring dust, homes occupied by people with respiratory sensitivities, and homes with a history of filter bypass may need cleaning more frequently. The best guide is your own documentation log. If register inspections show visible dust accumulation returning within months of a professional cleaning, the interval should be shorter. If registers stay clean for multiple years, the interval can extend. Schedule professional Air Duct Cleaning in Clovis based on observed conditions, not a calendar rule. Call (855) 661-0630 for an evaluation if you’re unsure whether your ducts need attention.
No. Consumer equipment cannot generate the negative pressure or the brush-contact agitation required to physically remove material from duct surfaces. A shop vacuum attached to a register opening removes only what’s loose and within a few feet of the opening. Professional equipment like the Rotobrush systems we use combines mechanical agitation with HEPA-filtered negative air pressure to remove material throughout the duct run. Attempting DIY cleaning cannot reach the interior surfaces where contamination actually accumulates, and it risks damaging flex duct interior liners if improper tools are inserted into the system. This is one task where the equipment makes the difference, and the equipment is not available at retail prices.
Rapid re-contamination after professional cleaning almost always indicates a structural problem that cleaning addressed without fixing. The most common causes in Clovis homes are filter bypass from poorly fitting filter slots, return air leaks that pull attic or crawl space dust into the system, and disconnected duct joints that allow outside air to enter the ductwork. If you see filter bypass banding at registers or airflow weakness in specific branches, the contamination is entering through a gap, not through normal household dust accumulation. Fix the structural problem, then clean. Cleaning alone will not solve rapid re-contamination, and repeated cleanings without repair are money spent treating symptoms.
During active smoke events in Clovis, MERV 11 or MERV 13 filters provide meaningful particulate capture that lower ratings miss, but verify that your HVAC system can handle the additional airflow restriction before installing a MERV 13. If your system can’t accommodate a high-MERV one-inch filter, consider a whole-home filtration system from Honeywell or Aprilaire, which delivers high-efficiency filtration without the same pressure drop penalty. During smoke events, run your system fan continuously to keep air moving through the filter. Change the filter more frequently during active smoke periods, as loading accelerates dramatically with smoke particulate.
The most reliable indicator is drying time trending upward. If clothes that dried in 45 minutes now take 70 minutes, the vent is restricted. Other indicators include the dryer exterior feeling unusually hot during operation, a burning odor during drying, visible lint around the exterior vent opening, or a vent flap that doesn’t open fully when the dryer runs. Even without these indicators, schedule professional cleaning every one to two years depending on household size and laundry volume. The fire-safety dimension of lint accumulation means waiting for symptoms is the wrong strategy. Call (855) 661-0630 if your dryer shows any of these warning signs.
Duct cleaning removes accumulated contamination from inside the ductwork: dust, debris, microbial growth, and particulate that has settled onto duct surfaces. Duct repair fixes structural failures: disconnected joints, crushed flex runs, failed seals, and damaged sections that leak air or draw contamination. You need cleaning if inspection shows visible buildup, odor issues, or airflow problems caused by accumulation. You need repair if inspection shows airflow differences between rooms, condensation staining, visible gaps or disconnections, or if your static pressure test suggests leakage. Many Clovis homes need both, which is why we offer Air Duct Repair in Clovis alongside professional cleaning. The right service depends on what your documentation and inspection reveal.
The Bottom Line
The air duct maintenance checklist that works for Clovis homeowners is not a generic list of quarterly reminders. It’s a diagnostic
See the difference
 Before
 After
 Before
 After
 Before
 After